Complete the Application
Looking for a video tutorial? Watch our How to Apply video.
Click Apply to this Show under the event's logo.
If the event is an Invite-Only event, you will need to enter the access code given to you by the event before you are able to start an application.
⚡ TIP: If you have questions about the event, click Contact Event to email the event directly.
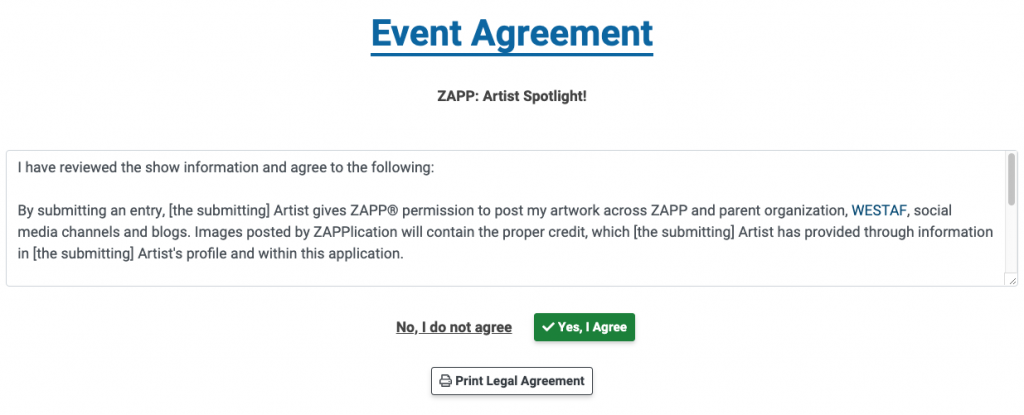
Agree to the event's terms and conditions.
You can print or save the legal agreement from this page. Once you agree to the terms, you will see the application.
3. Select your medium category.
The event administrator determines which medium categories are available. If you have questions about which to choose, please reach out to the event organizers.
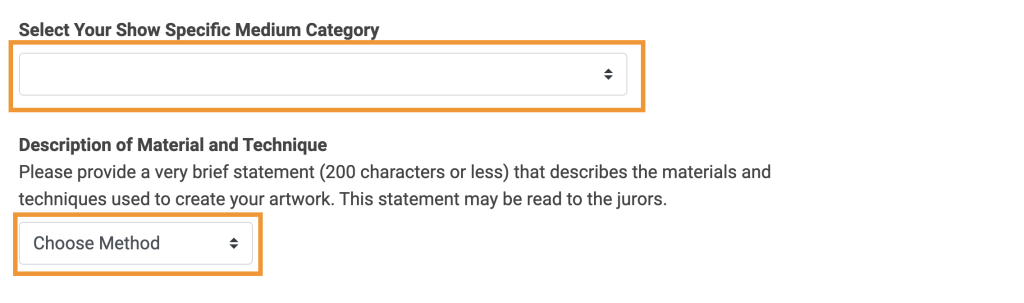
Insert or type your Statement of Technique.
To insert a statement, click the Choose Method dropdown menu and select Insert Saved Statement. Select the statement to add. Learn more about saving Statements of Technique.
To type a statement, click the Choose Method dropdown menu and select Type Statement. Type or paste directly into the box that appears.
Answer additional application questions.
Questions labeled "(Required)" must be answered to submit your application. If present, click on the blue question mark ❔ icon for additional information about how to answer the question. Click Continue to be taken to the Image Selection page.
⚡ TIP: Click Save Progress often to save a draft and avoid losing your work.
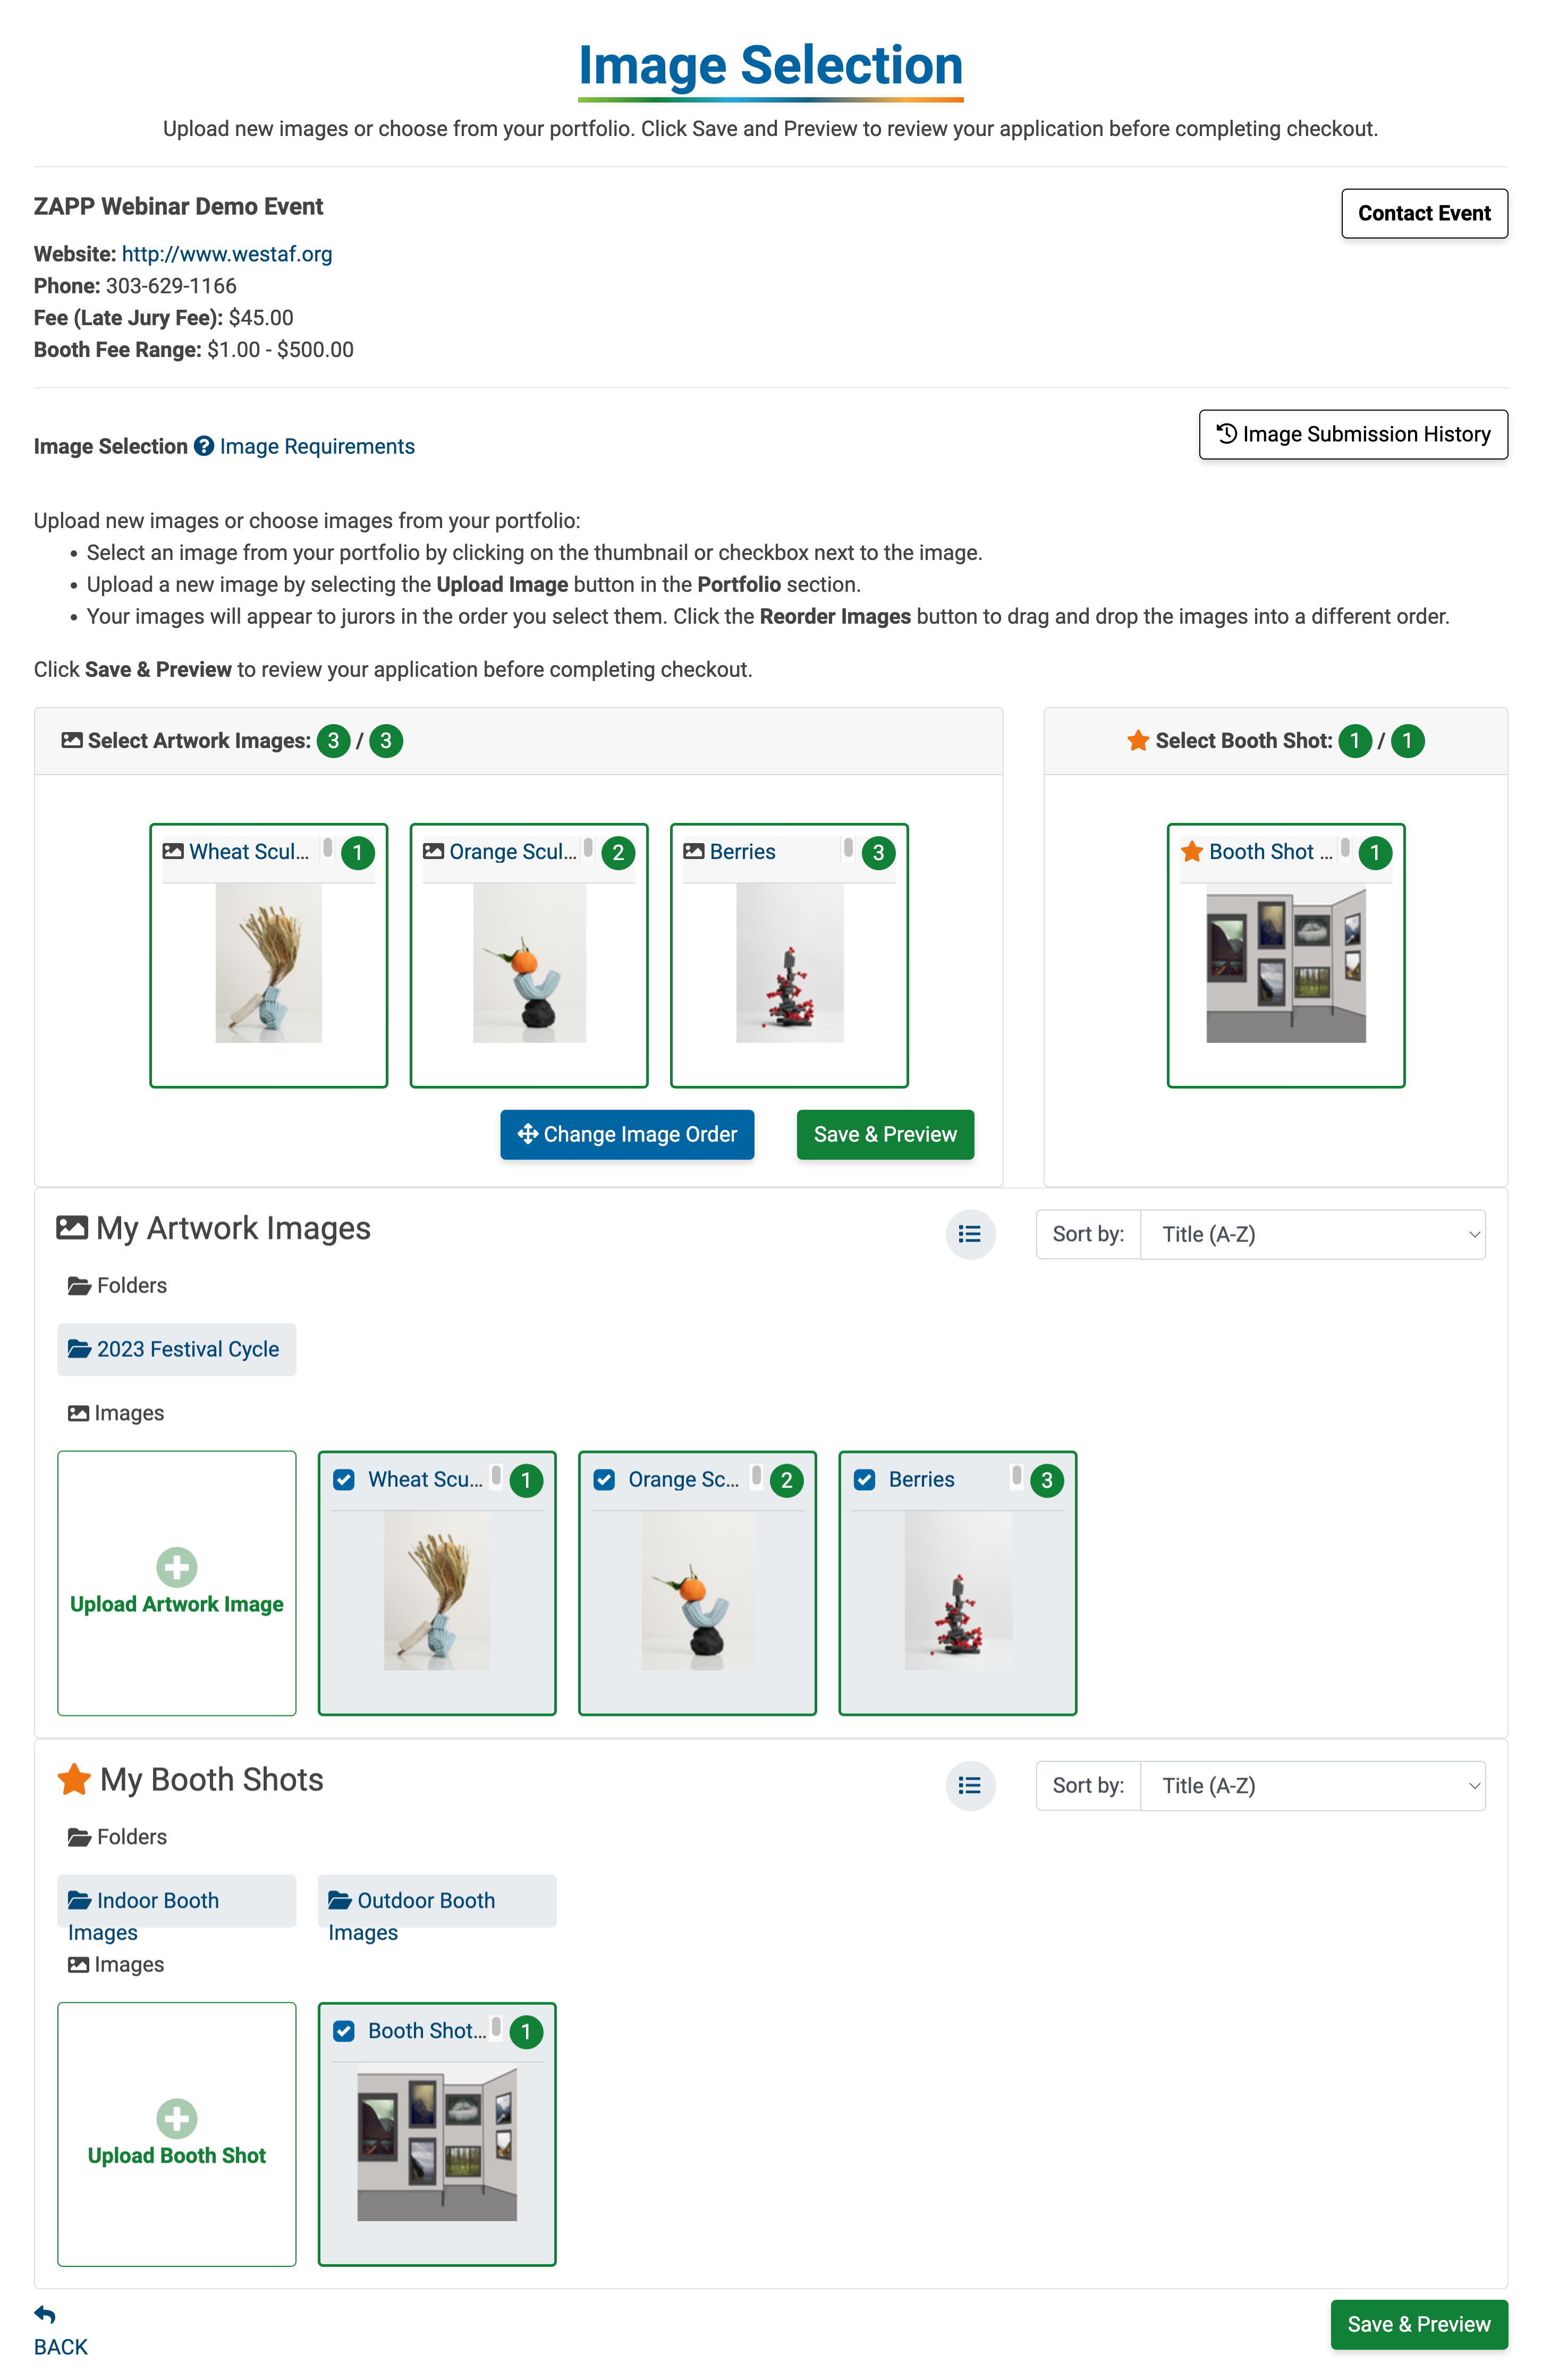
Select the images you want to attach to your application.
Click on the images you want to attach to the application or select Upload Artwork Image to upload a new image. If a booth shot is required, click on the image from the My Booth Shots section.
The first section shows the number of required artwork and booth shot images.
My Artwork Images displays thumbnails of the images uploaded to your portfolio.
Learn more about uploading and editing images and image descriptions.
⚡ TIP: When completing an application for an event that does require images, you will see the Image Selection page. If you are applying as a non-artist vendor, images may not be required, and your application will be directed to the Application Preview page.
Click Save & Preview at the bottom of the page to preview your application.
Preview and/or edit your application.
If you are completing your application on a computer, click Preview as Juror to see your images as they will be displayed to jurors. You can zoom in and out on images by scrolling or by using the bar at the top of the preview window.
Click Edit Application to make changes to your application before submitting. You will be unable to edit your application once you have completed checkout without permission from the administrator.

Click Checkout to pay the application or jury fee.
Once you have paid your application or jury fee, your application will be listed as Received on the My ZAPPlications page. Learn more about checking out products in the ZAPP shop.